TAIWAN - 繁體中文
 ENGLISH
 中国 - 简体中文
 JAPAN - 日本語
 ESPAÑA - ESPAÑOL
 DEUTSCHLAND - DEUTSCH
 FRANCE - FRANÇAIS
Previous
Next

100G Geeko Rear-Drive E-Assist Kit (PAS Pedal Assist) × Folding Bike
*This Frame Is Designed To Be Compatible With Rear-Drive E-Assist Systems. The Following Content Uses The 100G Geeko Rear-Drive E-Assist System As A Demonstration Reference. You May Freely Choose A Suitable Rear-Drive E-Assist System Based On Your Personal Needs And Preferences.
Folding Bike × Rear-Drive E-Assist Integration
Designed From The Frame Structure Up With Future Rear-Drive E-Assist Integration In Mind.
No More Hesitation On Climbs, No More Limits On Distance.
A Well-Designed E-Assist System Is Not Just About Installation, But About Overall Integration, Stability, And Ease Of Use. Therefore, The Frame Is Designed From The Beginning With Consideration For Battery, Motor, And Controller Integration, While Balancing Battery Placement, Cable Routing, Rear-Drive Compatibility, And Post-Folding Mobility Convenience.
-
Battery Mounting Space
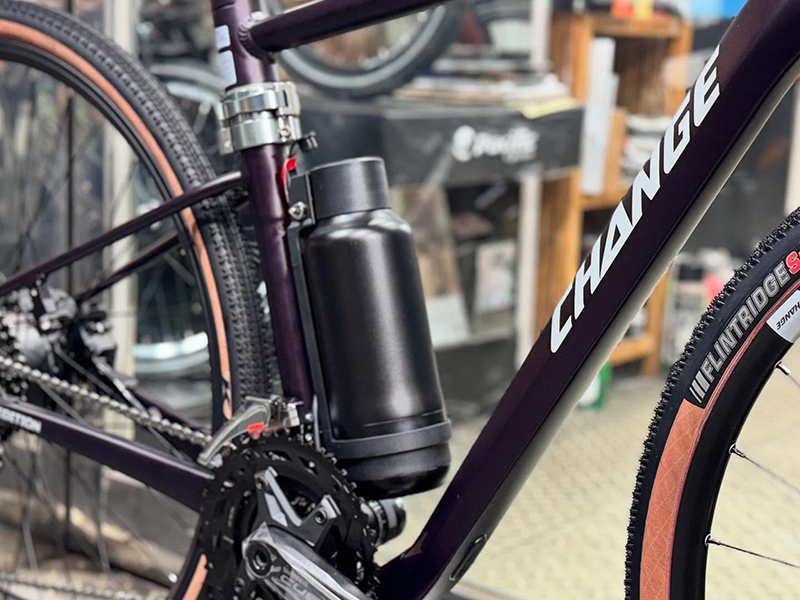
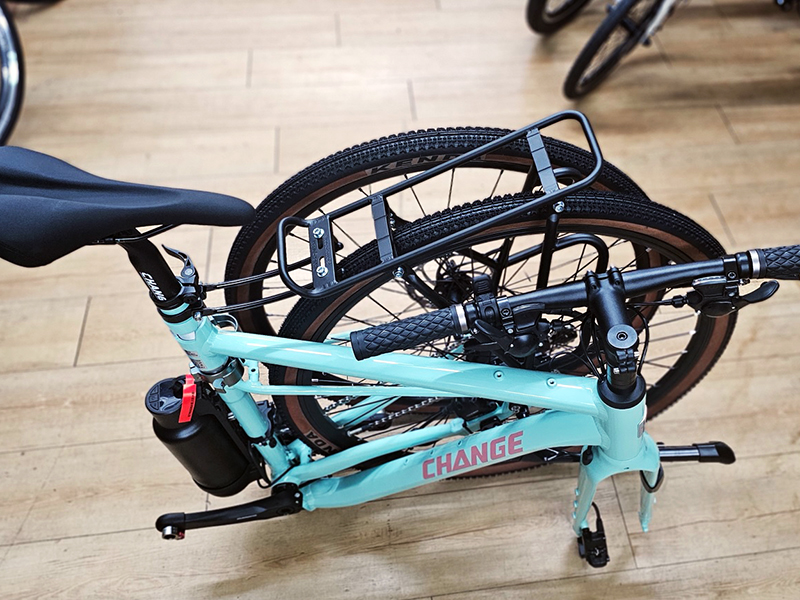
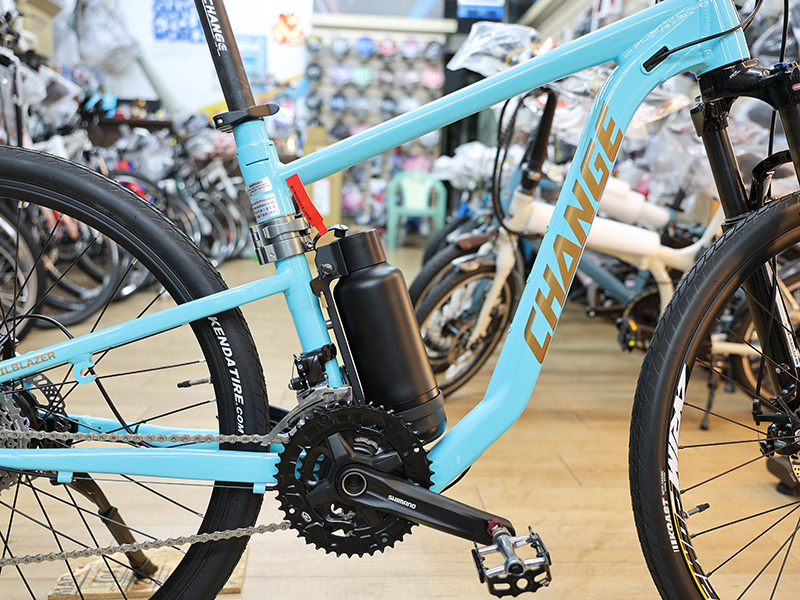
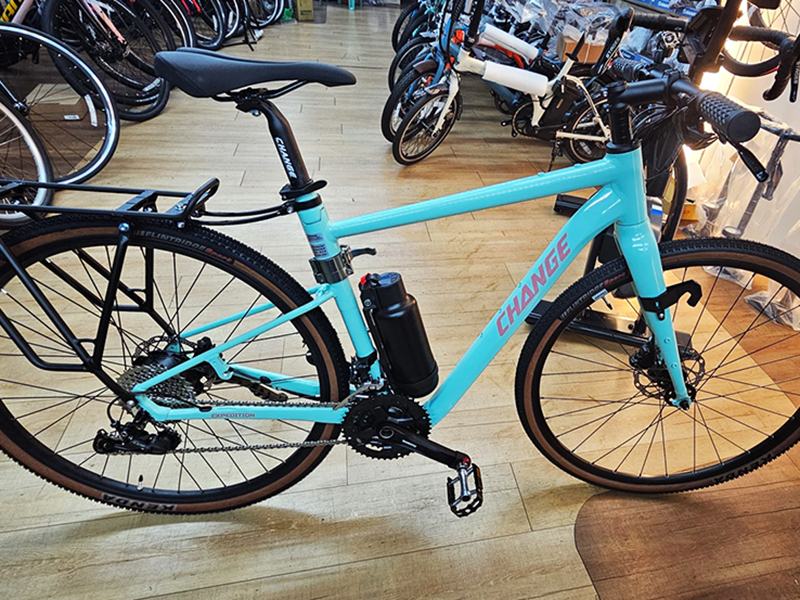
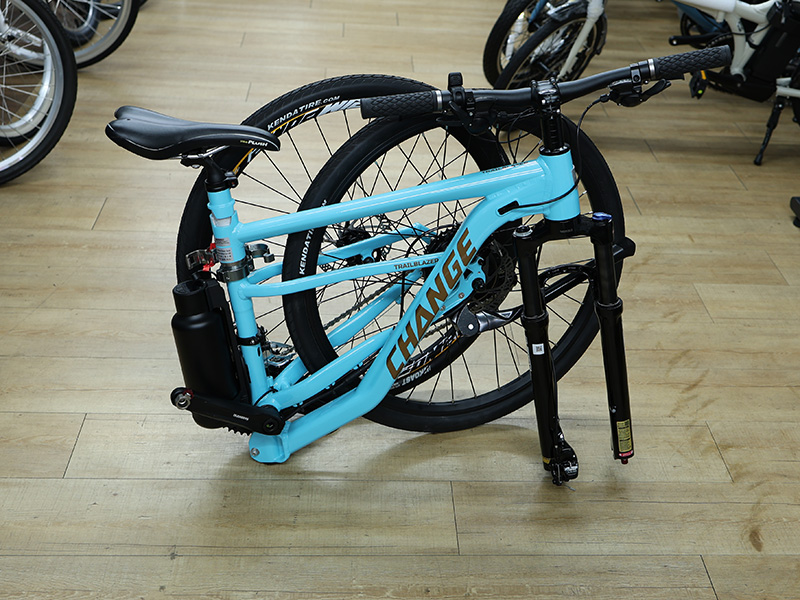
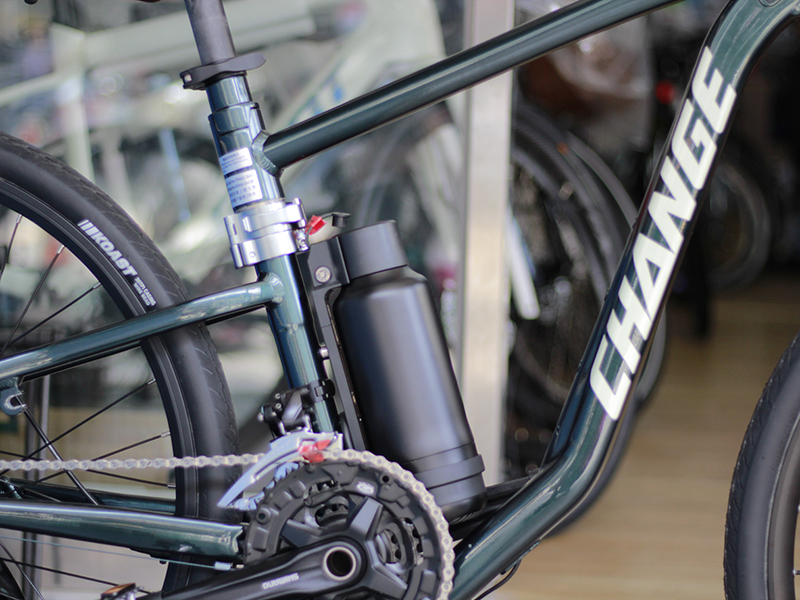
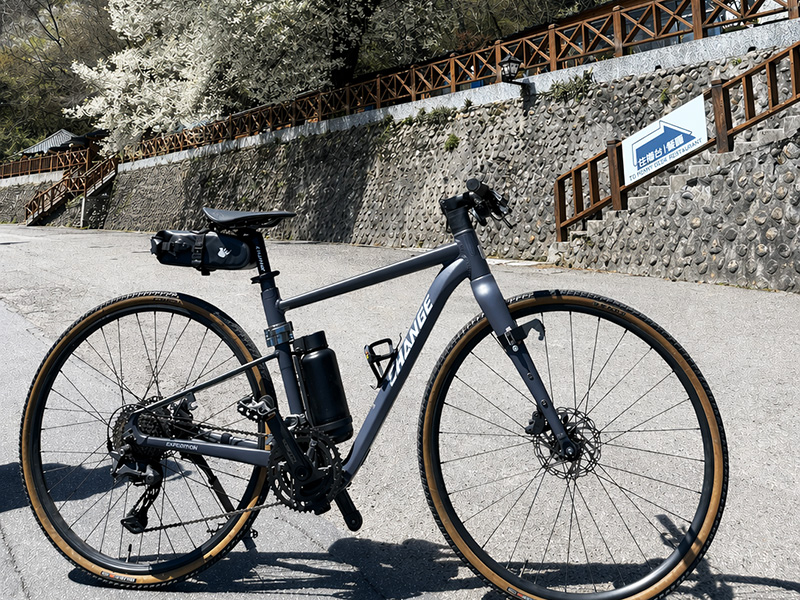
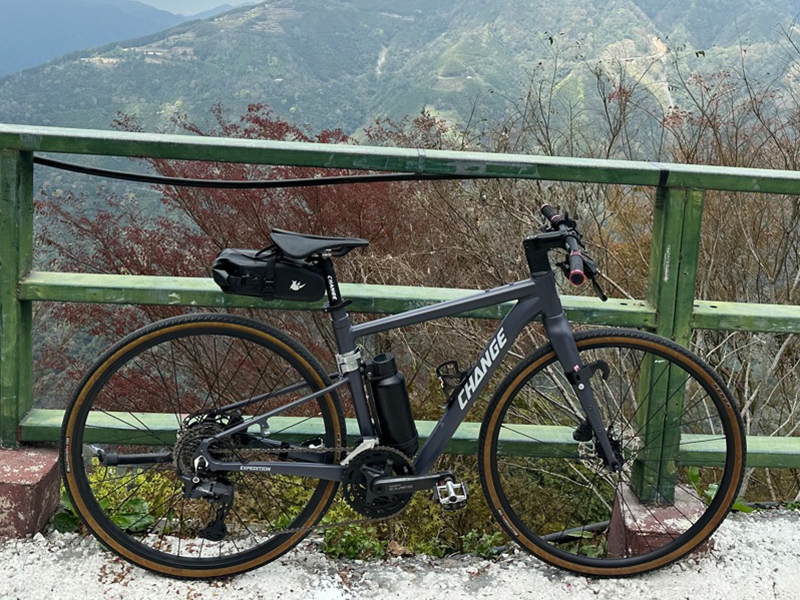
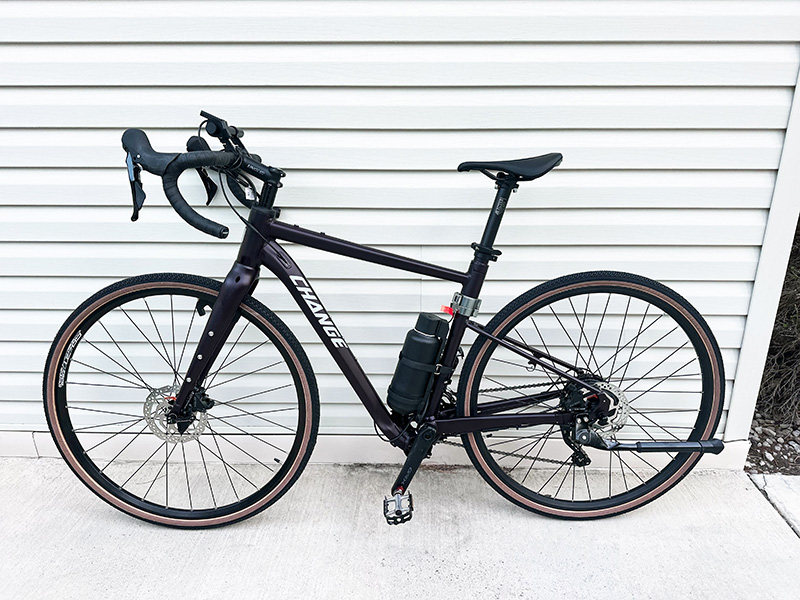
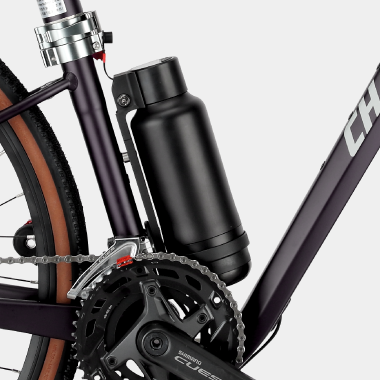
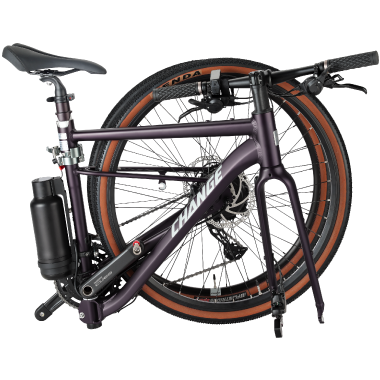
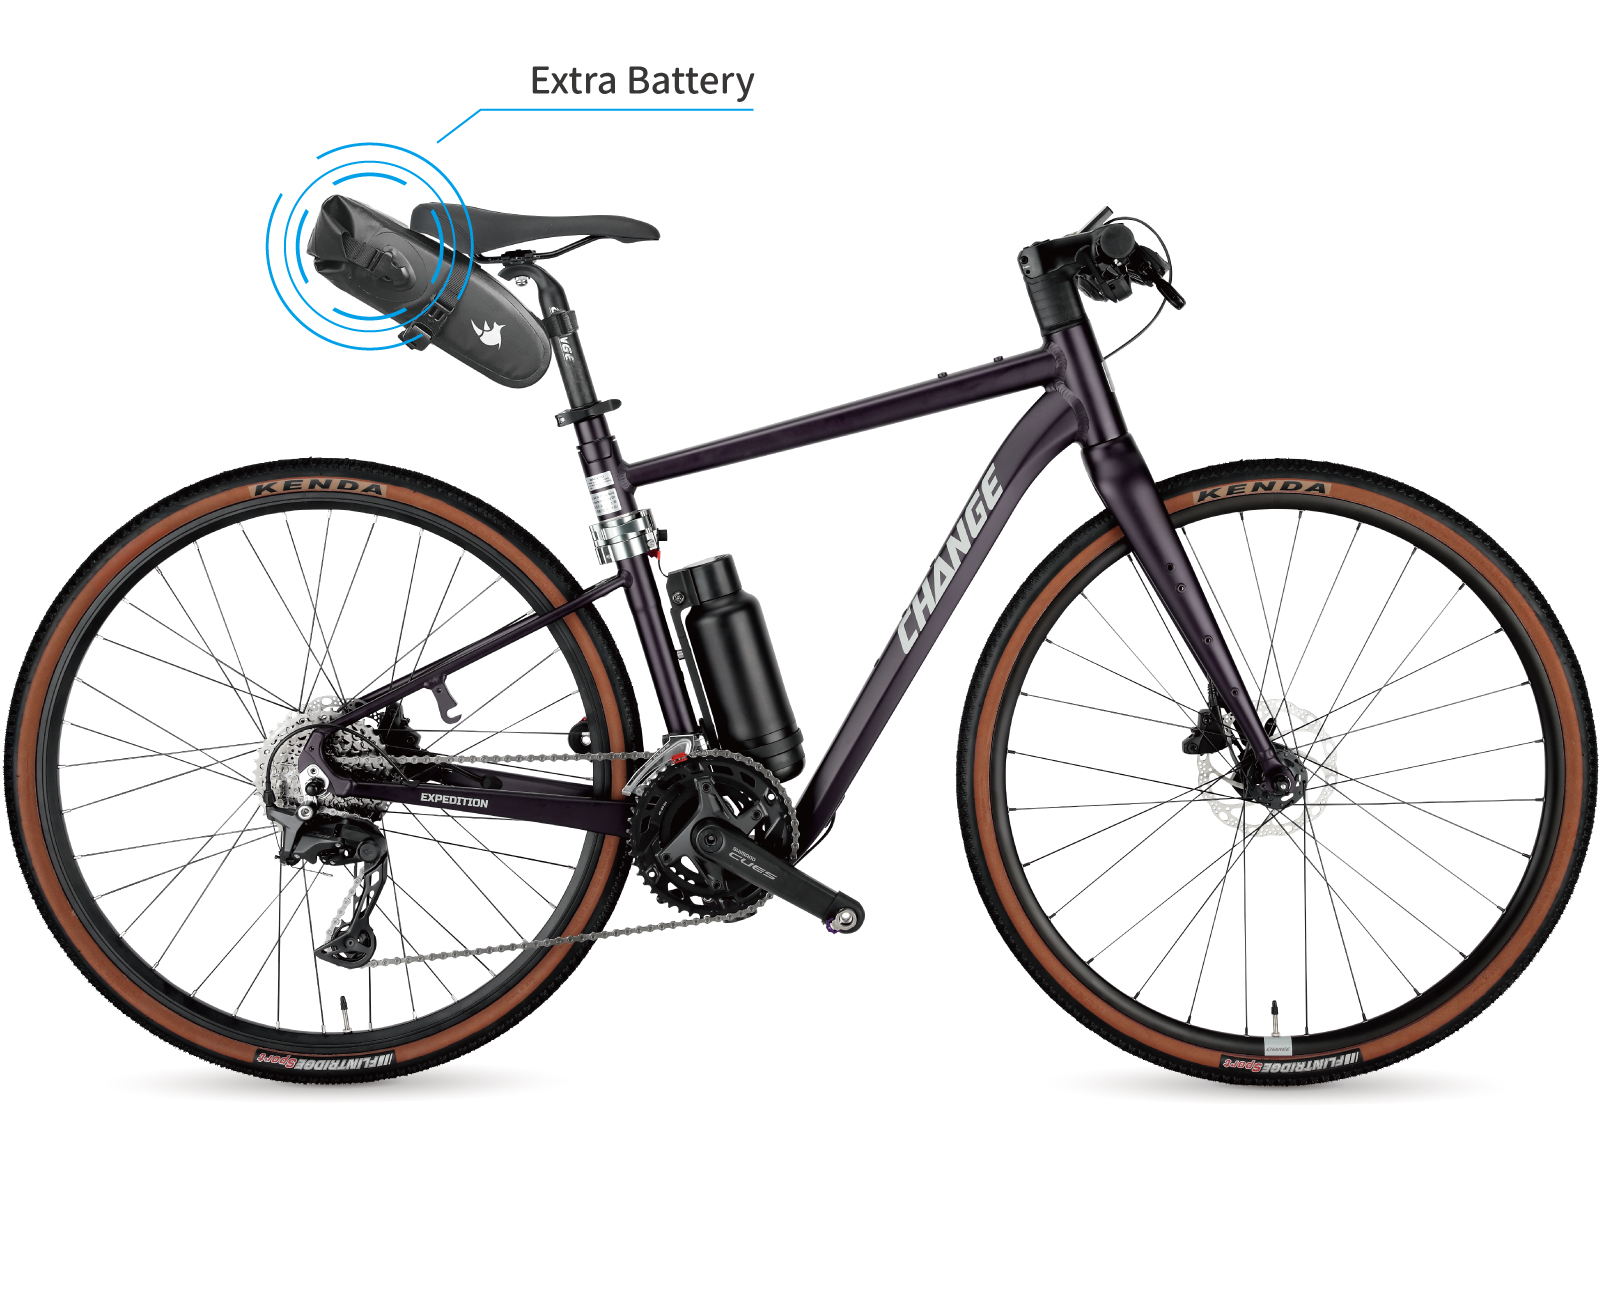
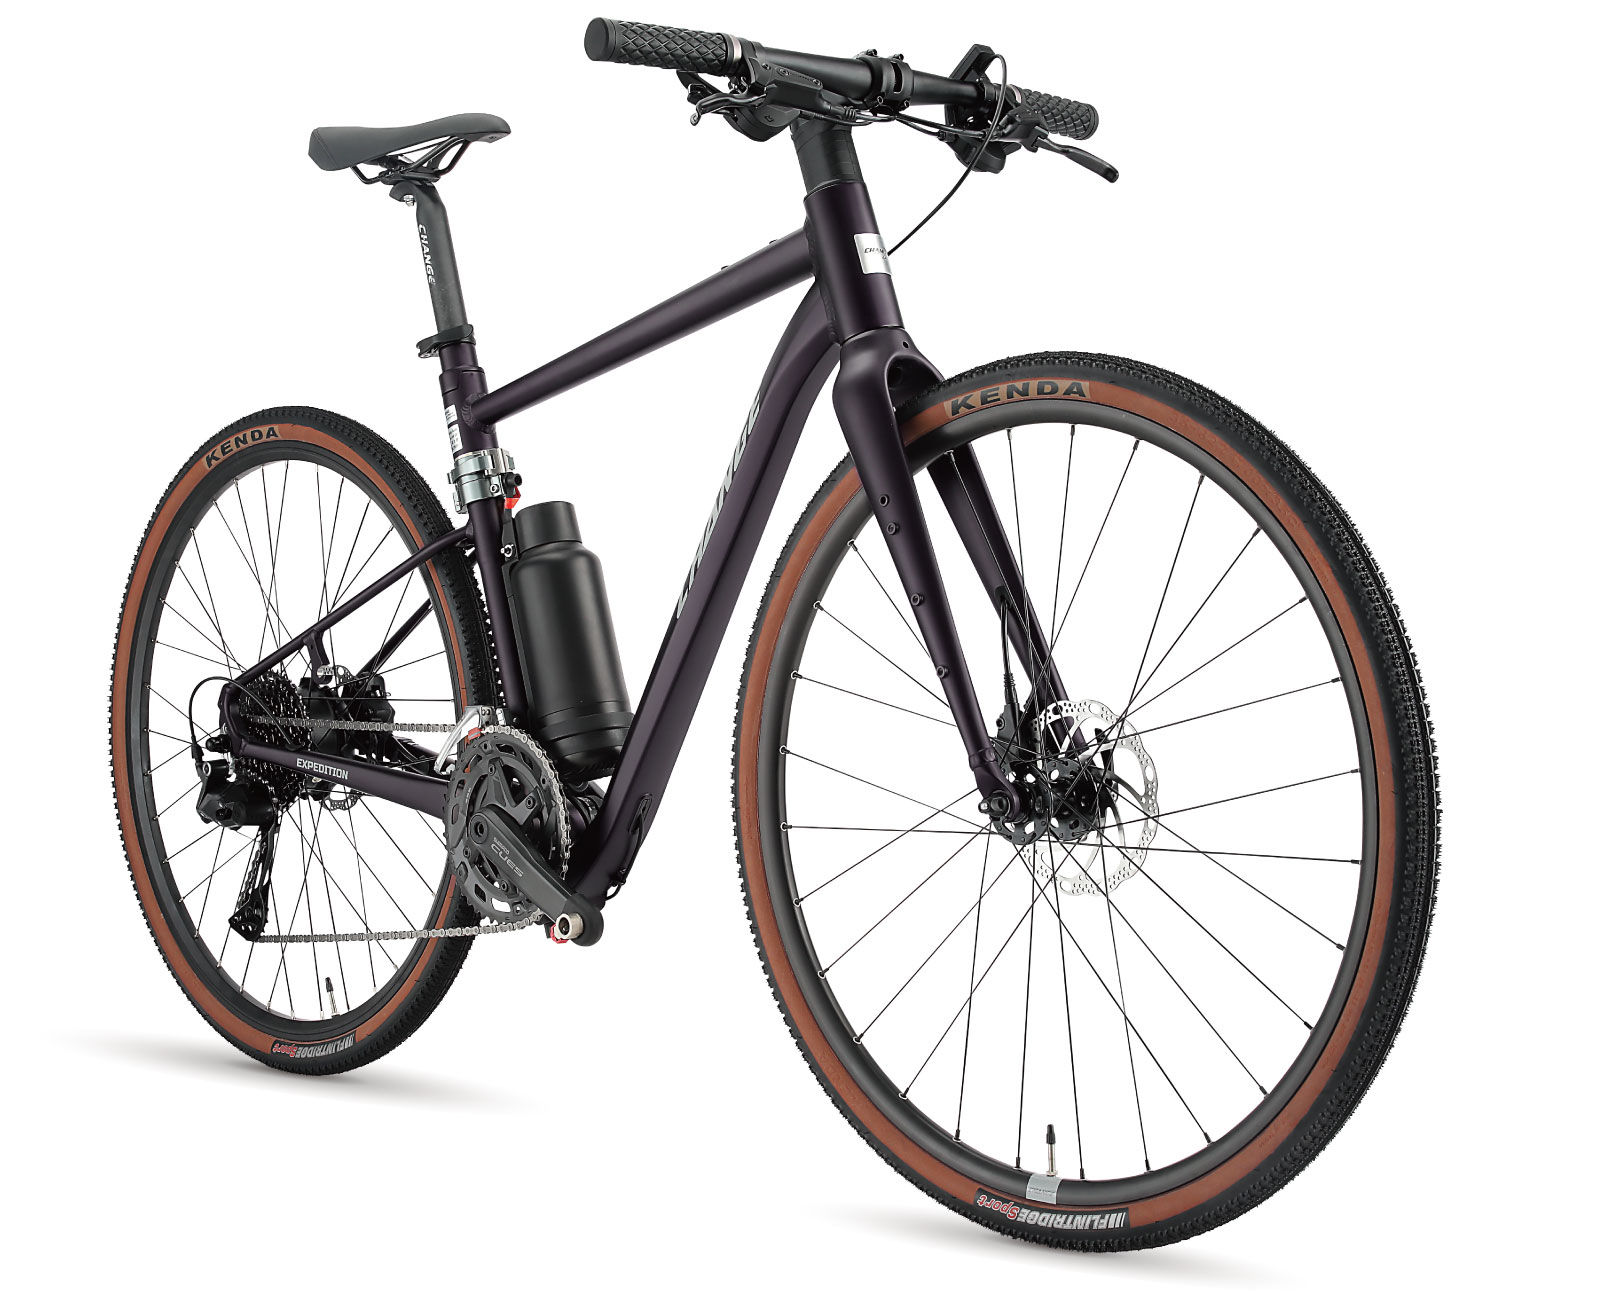
The Front Triangle Frame Supports Bottle-Type Battery Mounting For A Clean And Natural Integration. The Battery Supports Quick Removal For Convenient Charging And Replacement Without Affecting Folding Operation.
-
Cable Routing Design
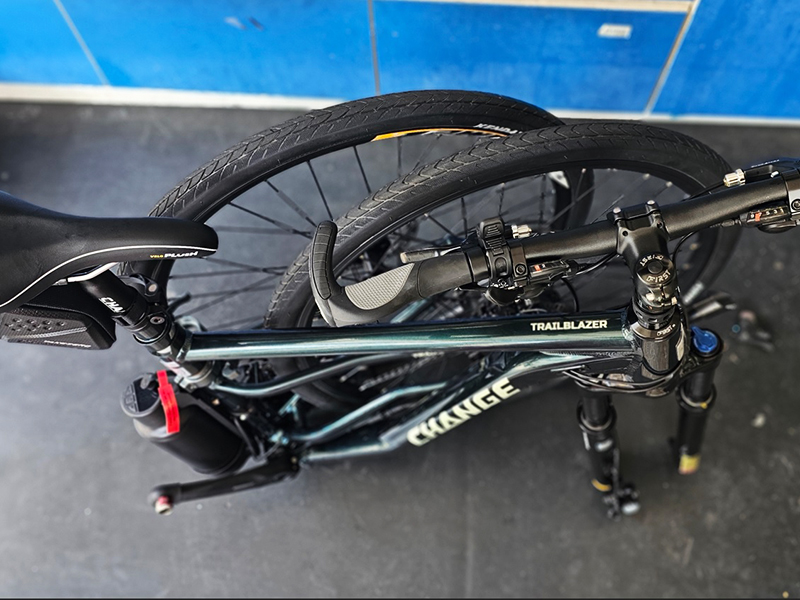
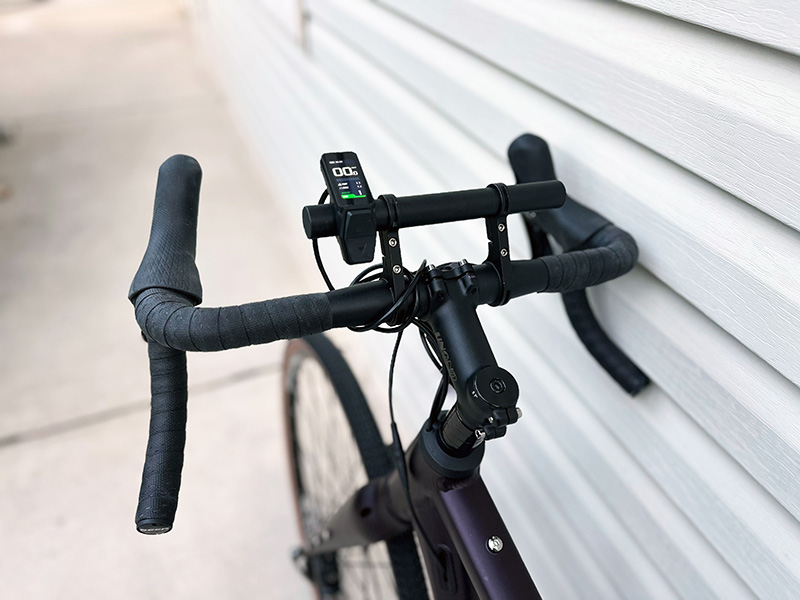
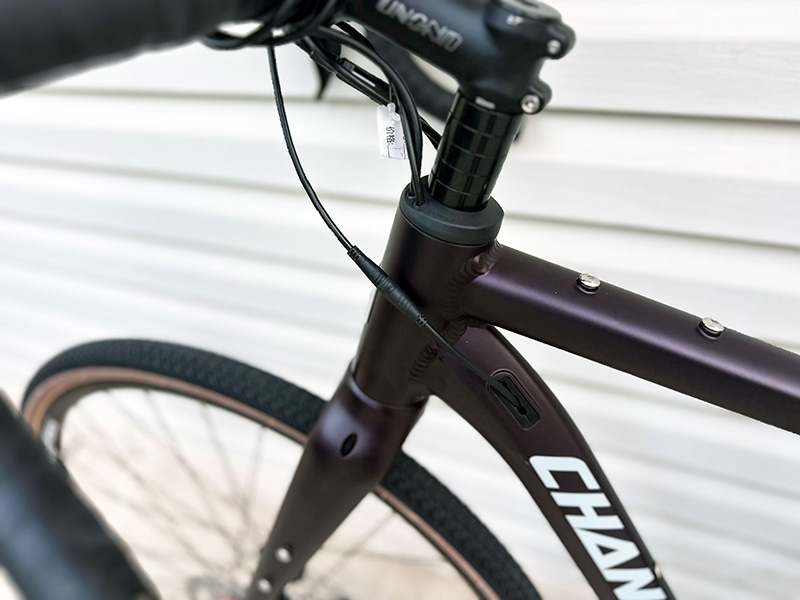
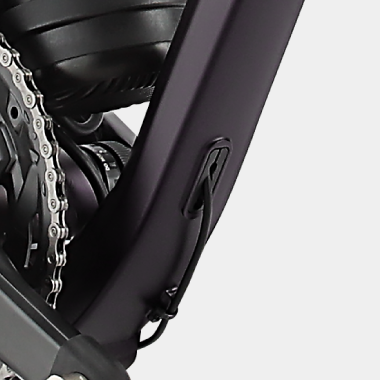
The Frame Features Enlarged Cable Ports That Can Accommodate Up To 6 Cables, With Pre-Planned Routing For E-Assist Systems To Minimize Exposed Wiring And Maintain A Clean Overall Appearance.
-
Rear-Drive Compatibility
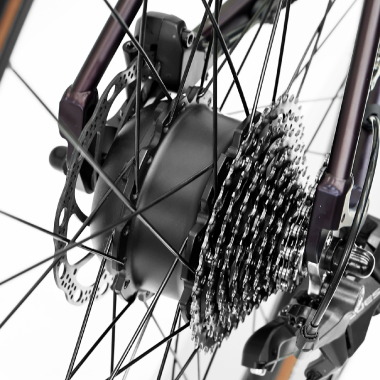
The Rear Frame Structure Supports Rear Hub Motor Installation And Uses A 135mm Rear Dropout Standard. Recommended Configurations Include 36V, 250–350W Rear-Drive Motors Paired With 7–10 Speed Cassette Systems For Easier Installation And Maintenance.
-
Post-Folding Mobility Convenience
The Overall Design Balances Folding, Commuting, And Storage Needs. After Installing The E-Assist System, Riding Becomes More Effortless, Allowing Riders To Handle Longer Distances And Varied Terrain With Ease While Maintaining The Mobility Advantages Of A Folding Bike Through Pedal-Assisted Riding Support.
Built As A Folding Bike Truly Designed For E-Assist, Rather Than A Compromised Aftermarket Conversion.
Folding Bike × 100G E-Assist Conversion Advantages
① Up To 720Wh High-Capacity Battery | Long-Range Riding Without Range Anxiety
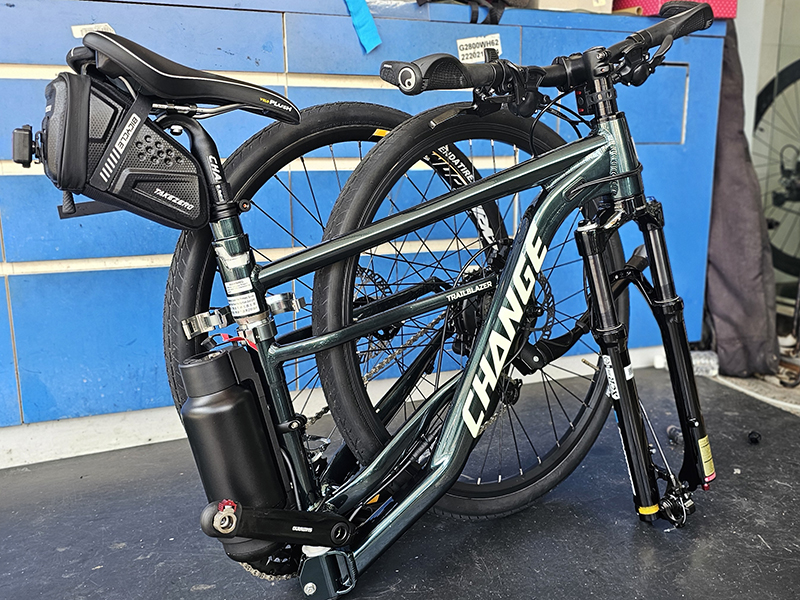
The Seatpost-Mounted 10Ah (360Wh) Battery Easily Handles Daily Riding Needs. For Extended Range, An Additional 10Ah (360Wh) Battery Can Be Added Inside A Seatpost Bag, Expanding Total Capacity Up To 720Wh For More Confident Long-Distance Riding.
② Single-Cable Installation × Internal Cable Routing | Clean And Minimal Appearance
The Electrical Control Wiring Is Integrated Into A Single Cable Layout, Combined With Changebike’s Developed “Large-Port Internal Cable Routing Stopper” For Easier Installation Without Additional Drilling Or Frame Modification. Internal Routing Keeps Cables Hidden For A Cleaner And More Consistent Overall Appearance.
③ Rear-Drive Motor System | 135mm Standard Design
The 100G Rear-Drive Motor Uses A 135mm Standard Design Compatible With Standard Rear Dropout Widths. The Installation Follows Common Market Standards, Making Future Parts Sourcing, Maintenance, And Replacement More Convenient.
④ 100G Geeko E-Assist System | Globally Accessible
The 100G Geeko E-Assist System Can Be Easily Purchased Through Cross-Border E-Commerce Platforms Without Regional Restrictions, Making It Easier To Purchase, Maintain, And Use Worldwide.
⑤ Folding Without Compromise | Easy To Move Even After E-Assist Conversion
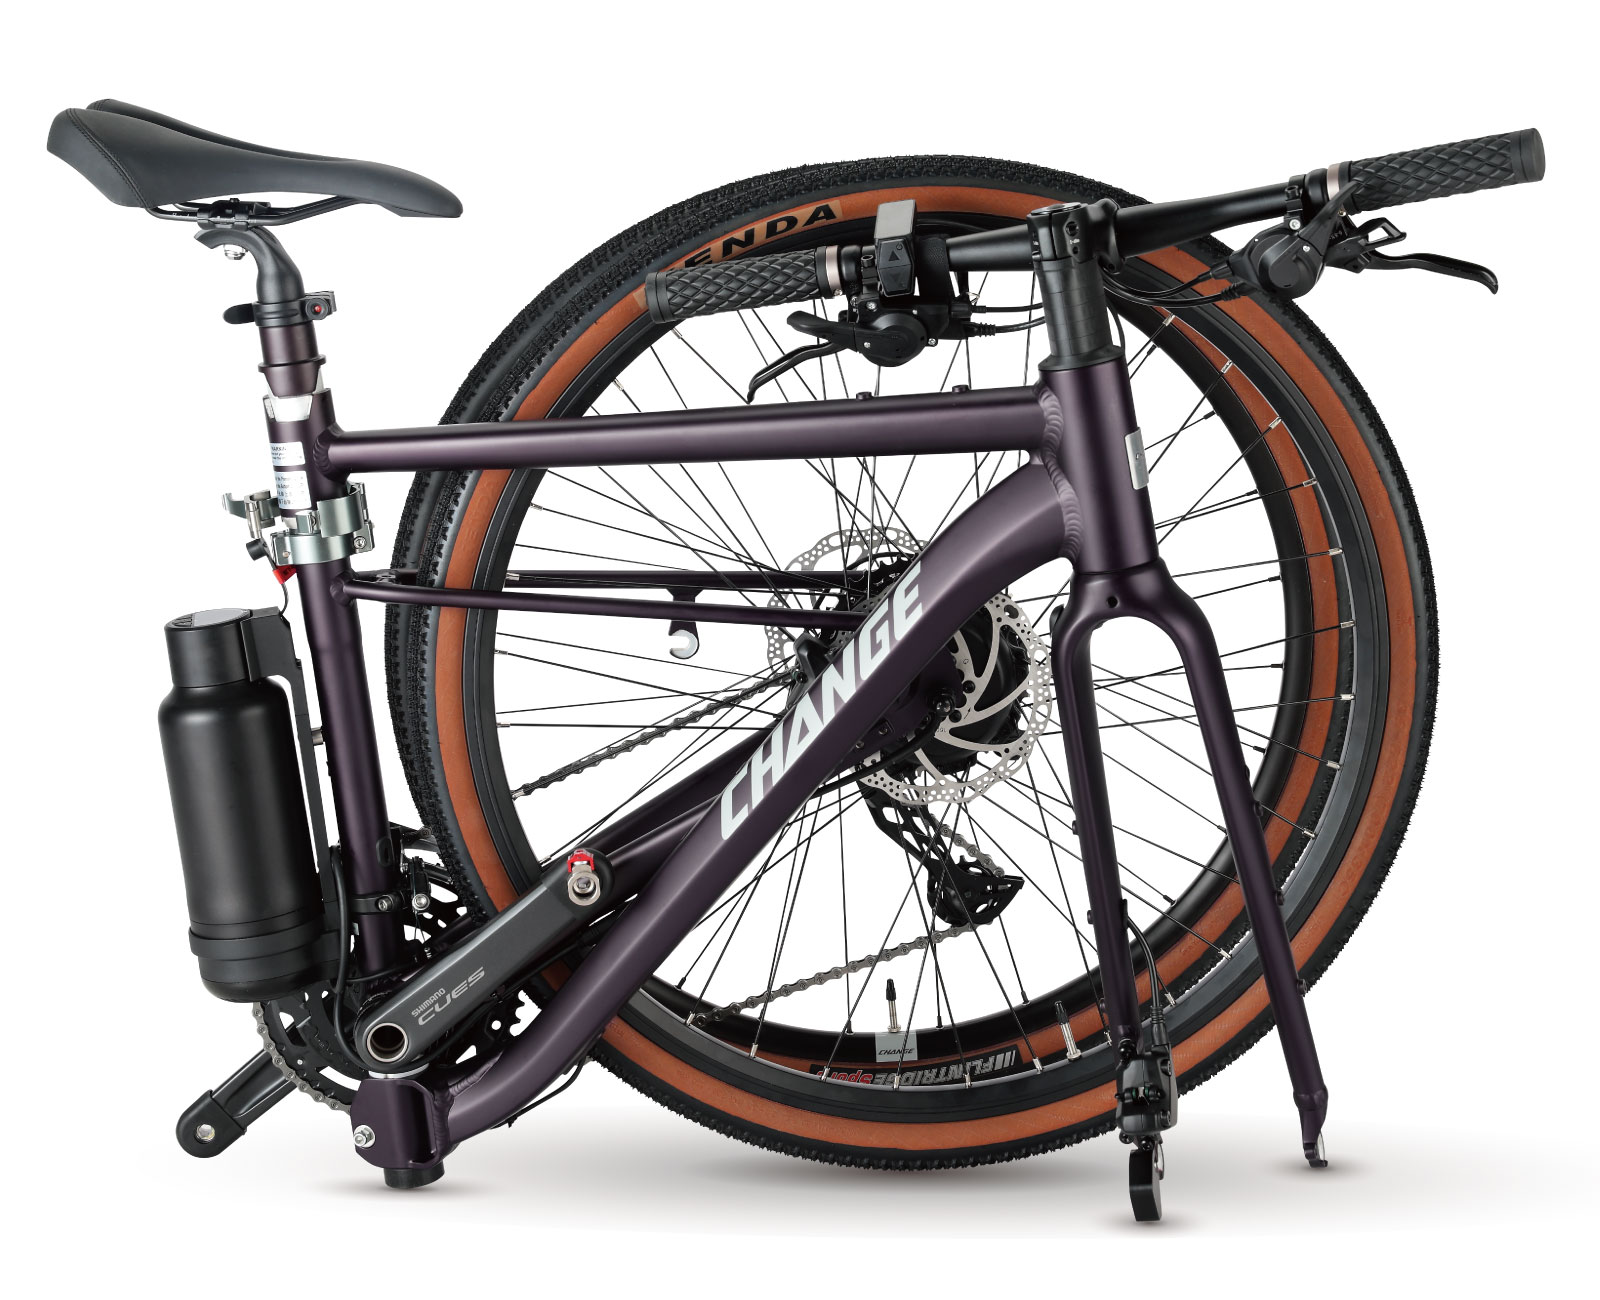
Although Installing The E-Assist System Increases Overall Weight, The Folded Size Remains Unchanged. The Change Gravel Folding Bike Can Still Be Easily Rolled And Moved After Folding, Balancing E-Assist Performance With Daily Practical Convenience.
100G Rear-Drive E-Assist Kit Recommended Specifications
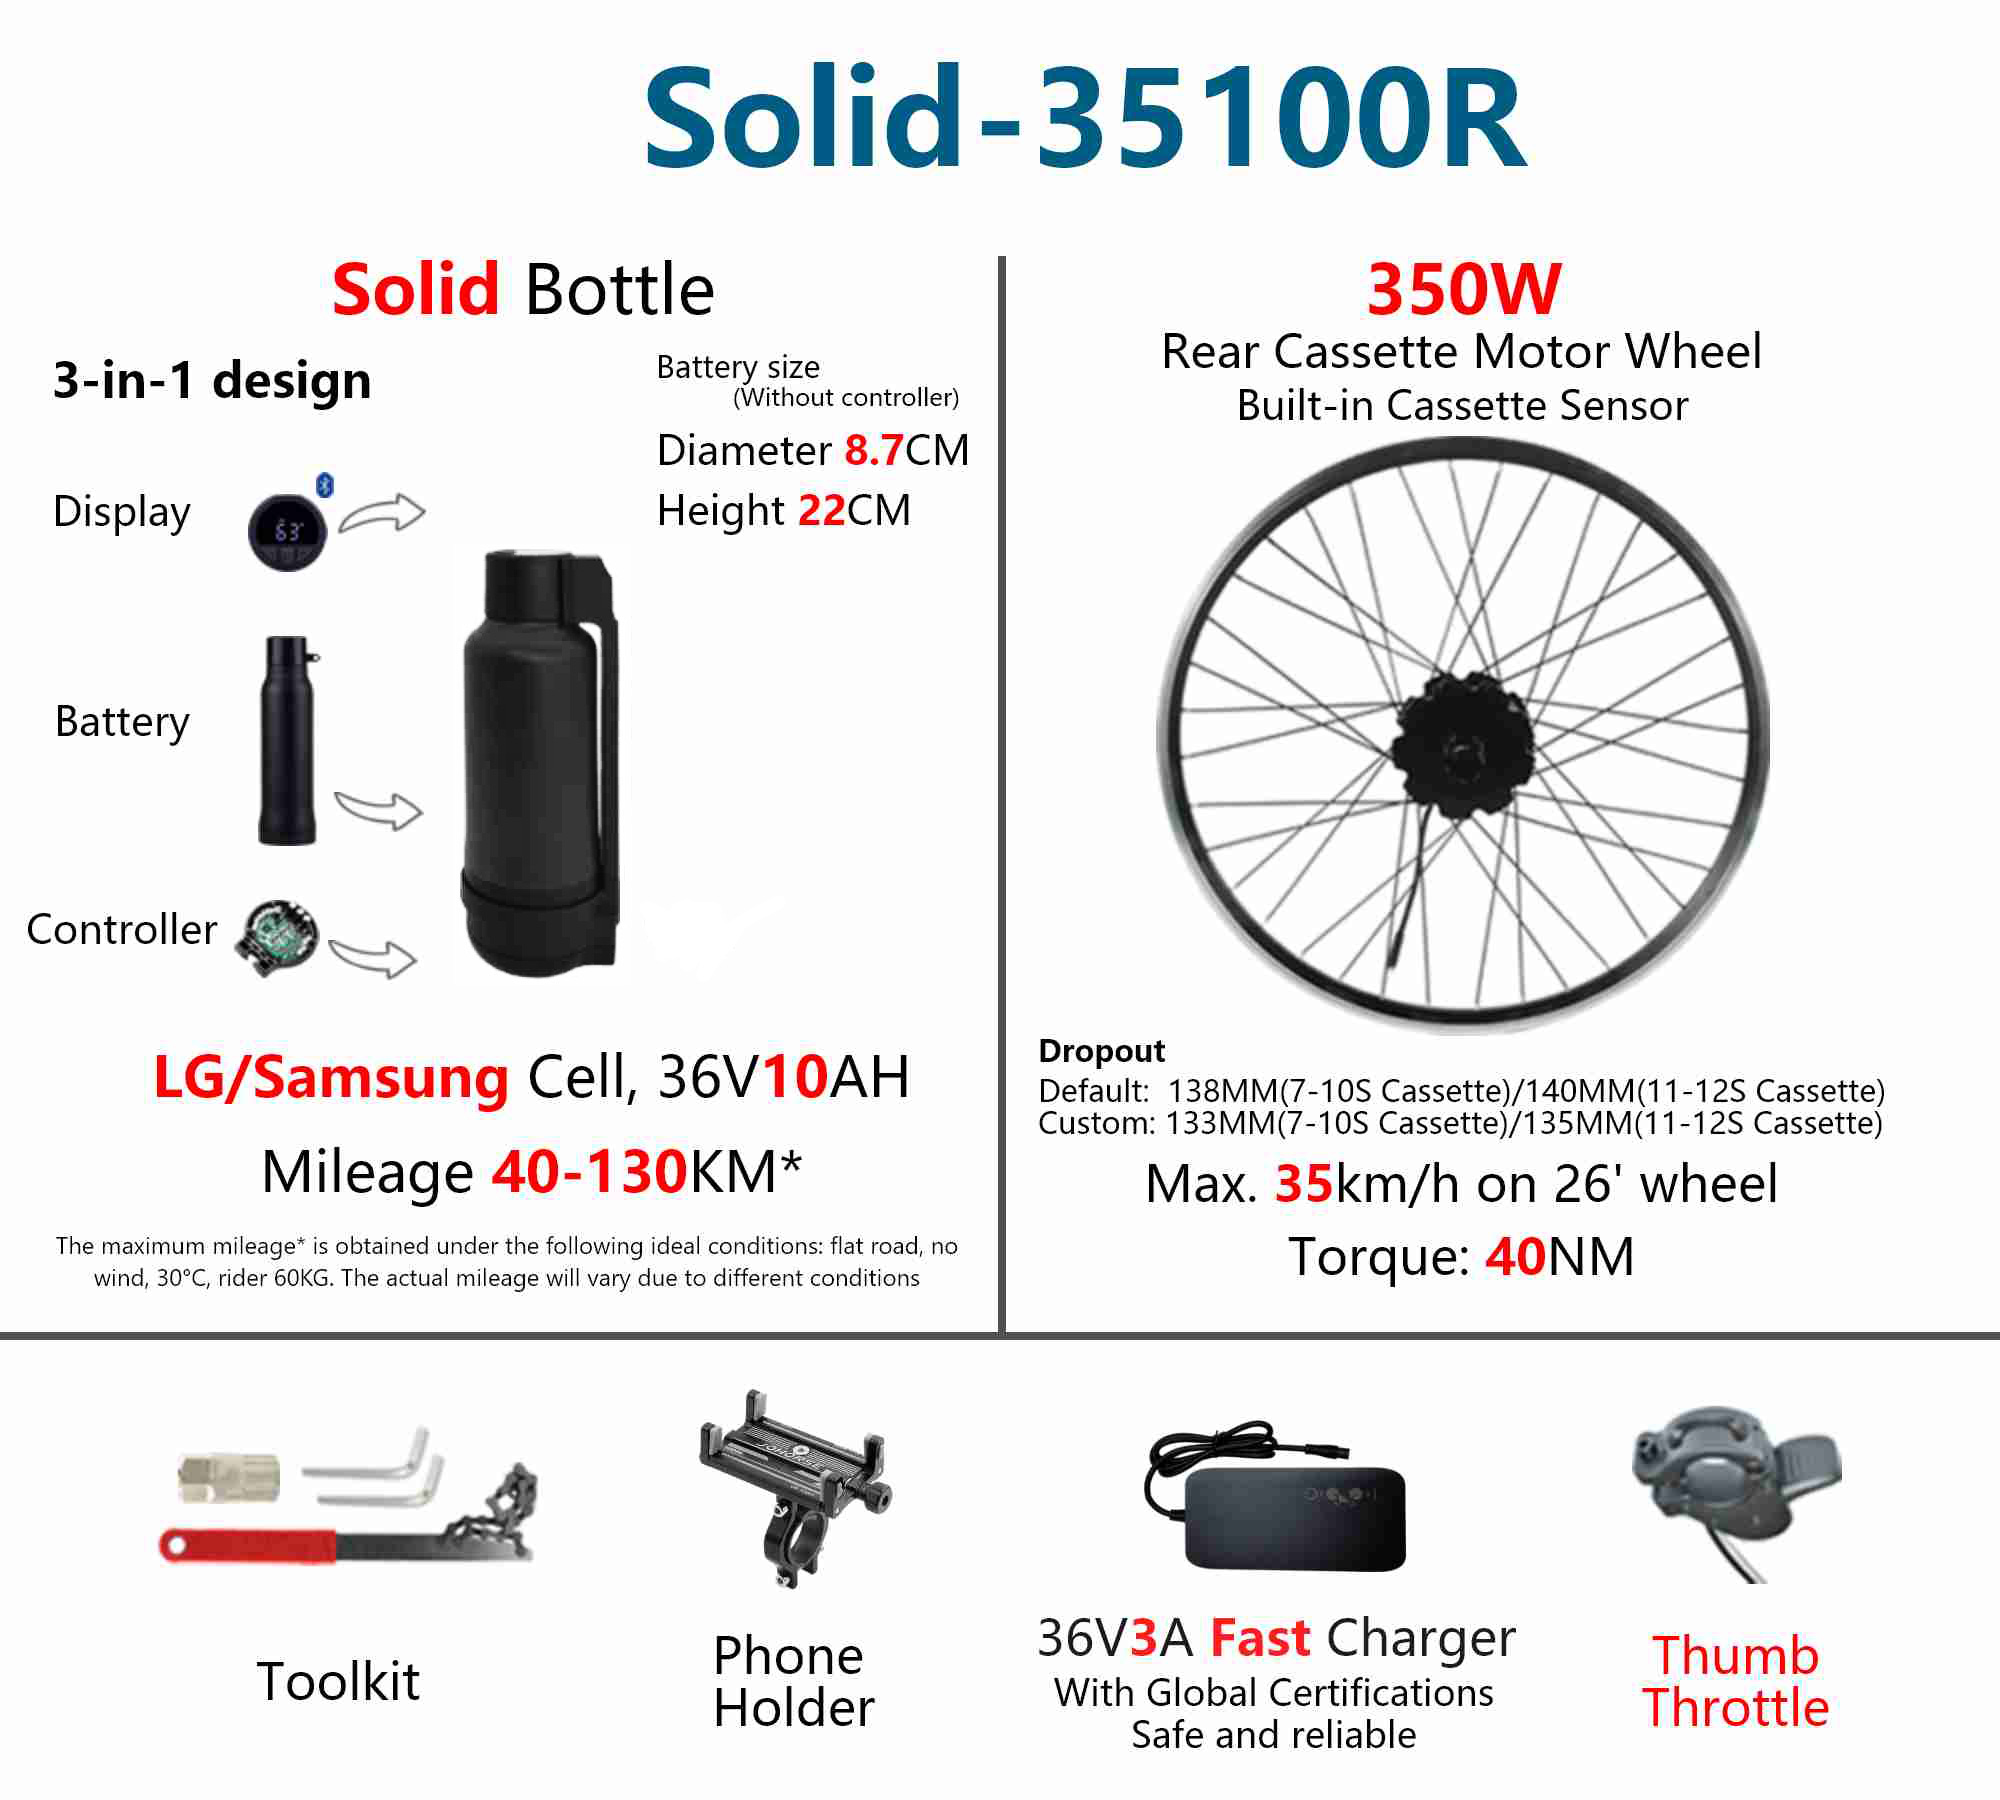
For E-Assist System Selection, The Geeko Series Introduced By 100G Is A Rear-Drive E-Assist Solution Focused On System Integration And Natural Riding Feel, Featuring PAS (Pedal Assist System) Riding Characteristics.
Official Information:https://www.100g.tech/
| System | 100G Geeko Rear-Drive Kit Solid-35100R |
| Battery | 36V 10Ah (Solid Short Version | Black) |
| Motor | 36V 350W |
| Range | Approx. 40–130 km (Depending On Riding Conditions) |
| Rear Dropout | 135mm |
| Axle Slot Width | 10mm |
| Disc Brake | International 6-Bolt (Optional Pure Black Disc Brake Rim Available For A More Unified Appearance) |
| Wheel Size | 27.5" / 700C |
| Charger | 42V 3A |
| Other Accessories | Supported (Depending On Configuration Settings) |
*Actual System Configuration Depends On The Selected Kit And Installation Method.
Electric Assist Folding Bicycle
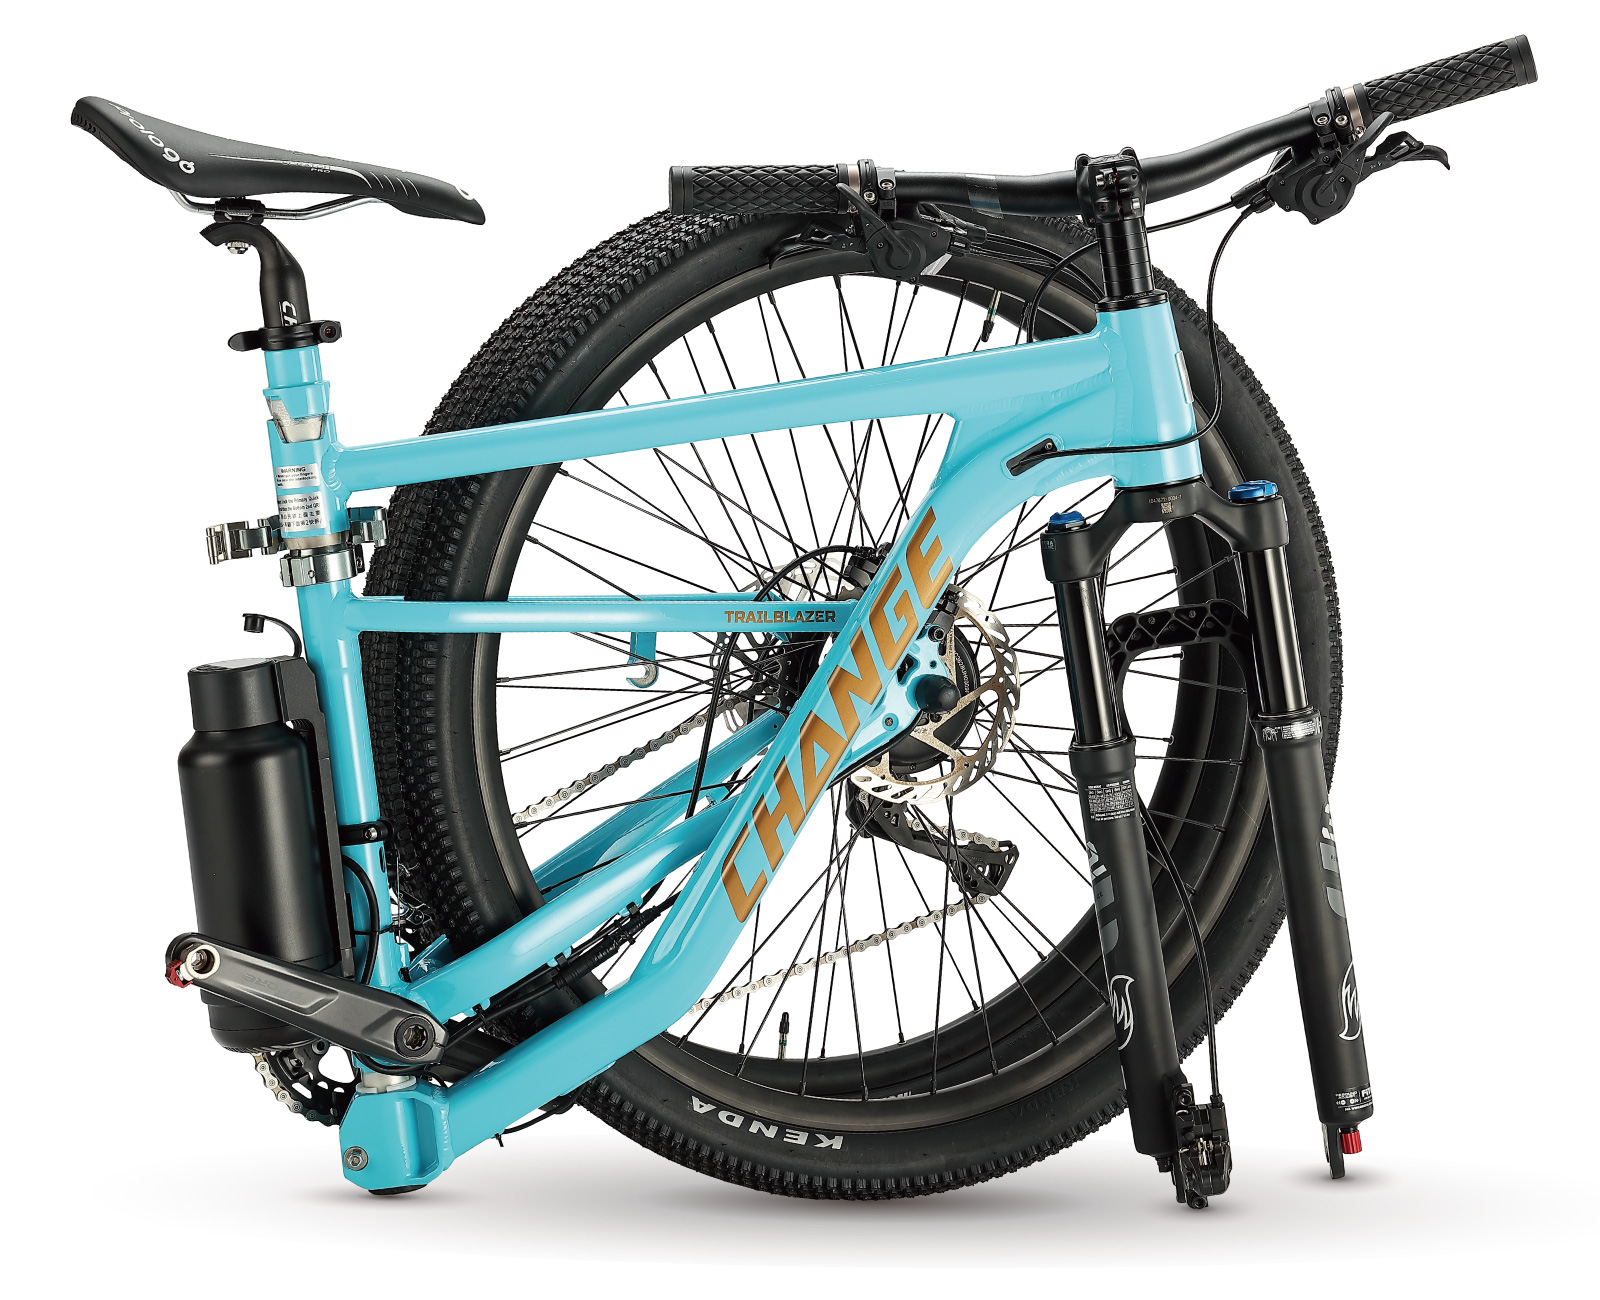
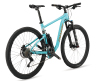
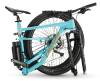
E-Assist System Cable Routing Reference
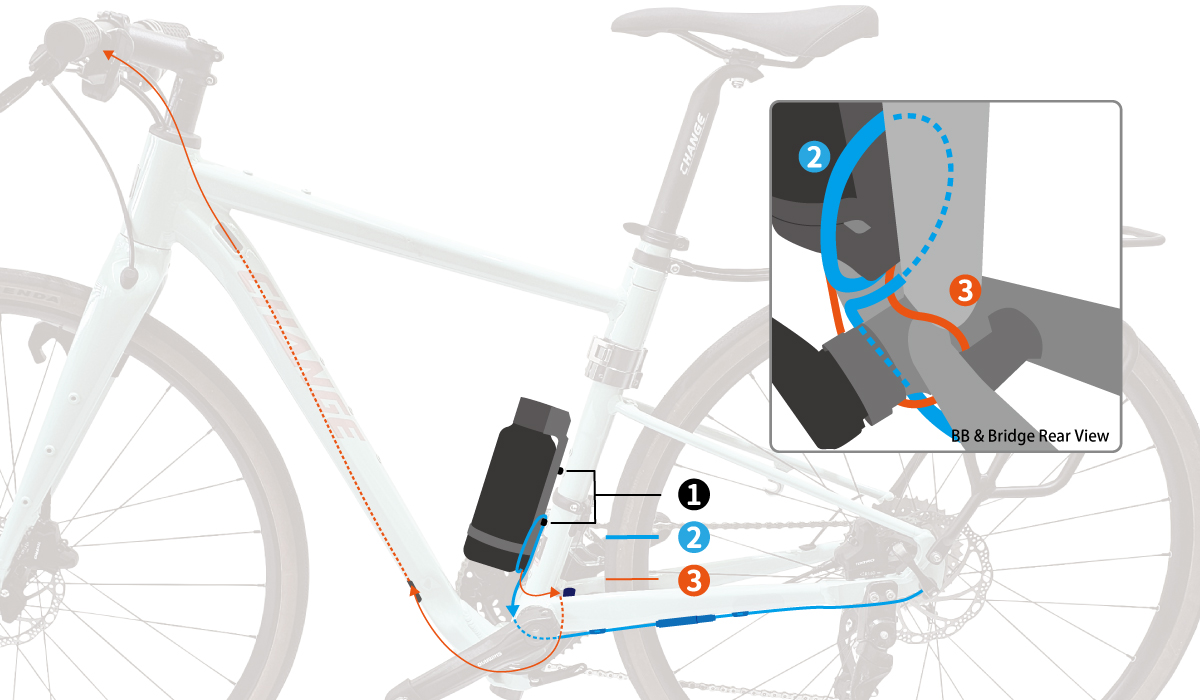
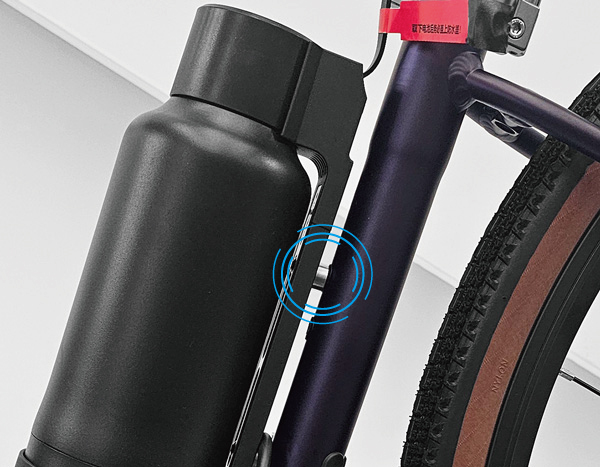
Use Spacers And Longer Bolts To Move The Battery Mount Slightly Outward To Clear The Front Derailleur Clamp.
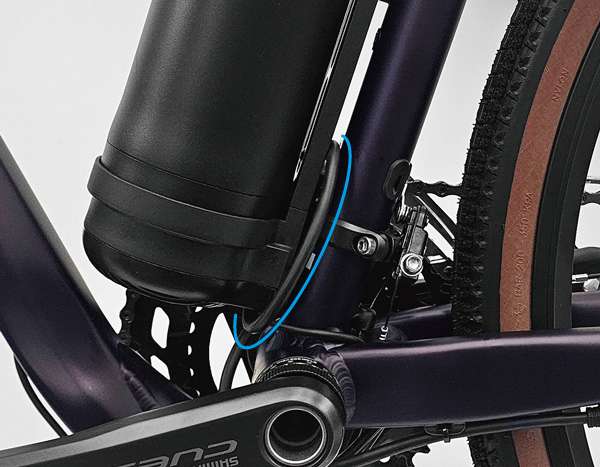
Loop The Cable Around The Bottle Cage Bolt On The Battery Mount Once To Shorten Excess Cable Length.
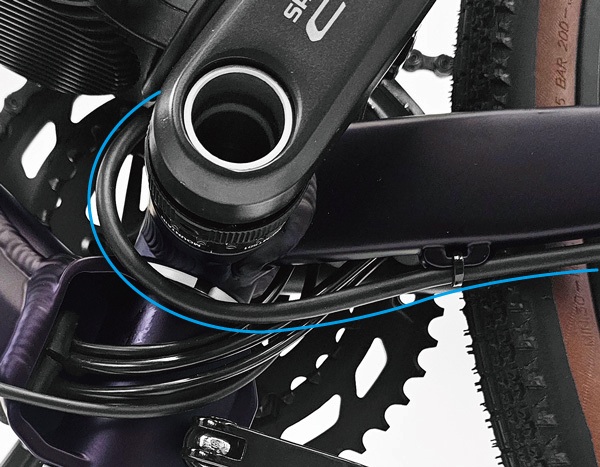
Route The Cable Down Beneath The Bottom Bracket.
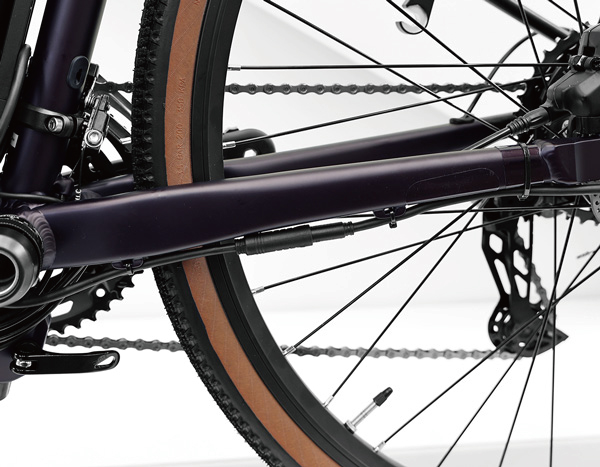
Follow The Chainstay Toward The Motor.
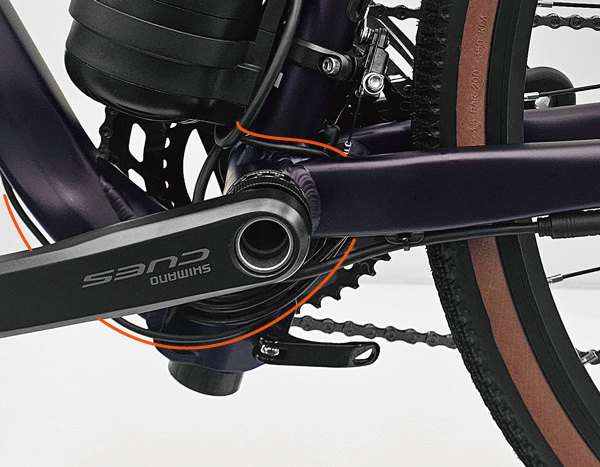
The Cable Should Pass Between The Bottom Bracket And The Bridge Tube.
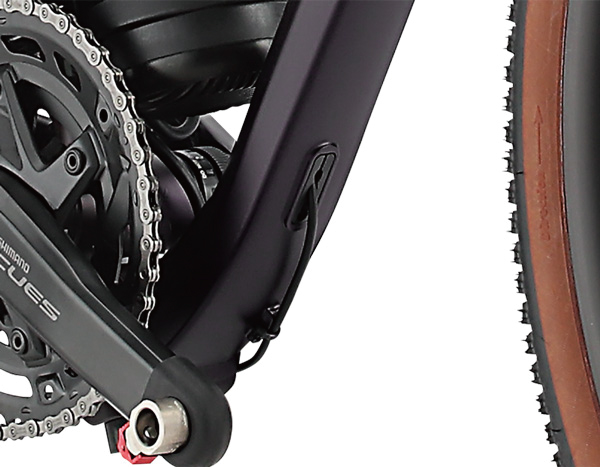
Enter The Downtube Through The Lower Internal Cable Port Under The Downtube.
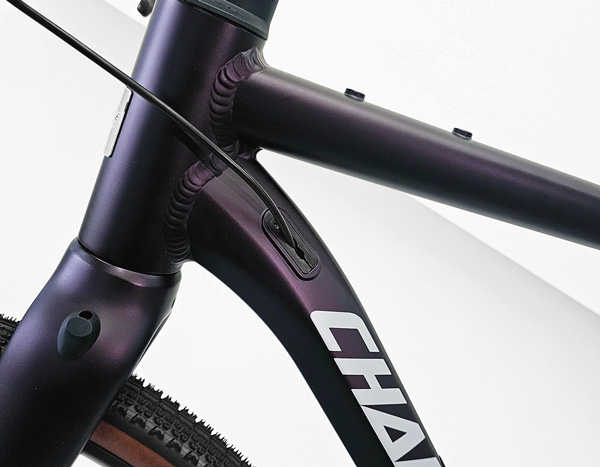
Finally, Route The Cable Out Through The Upper Internal Cable Port On The Downtube.